Ribbing Crochet Pattern
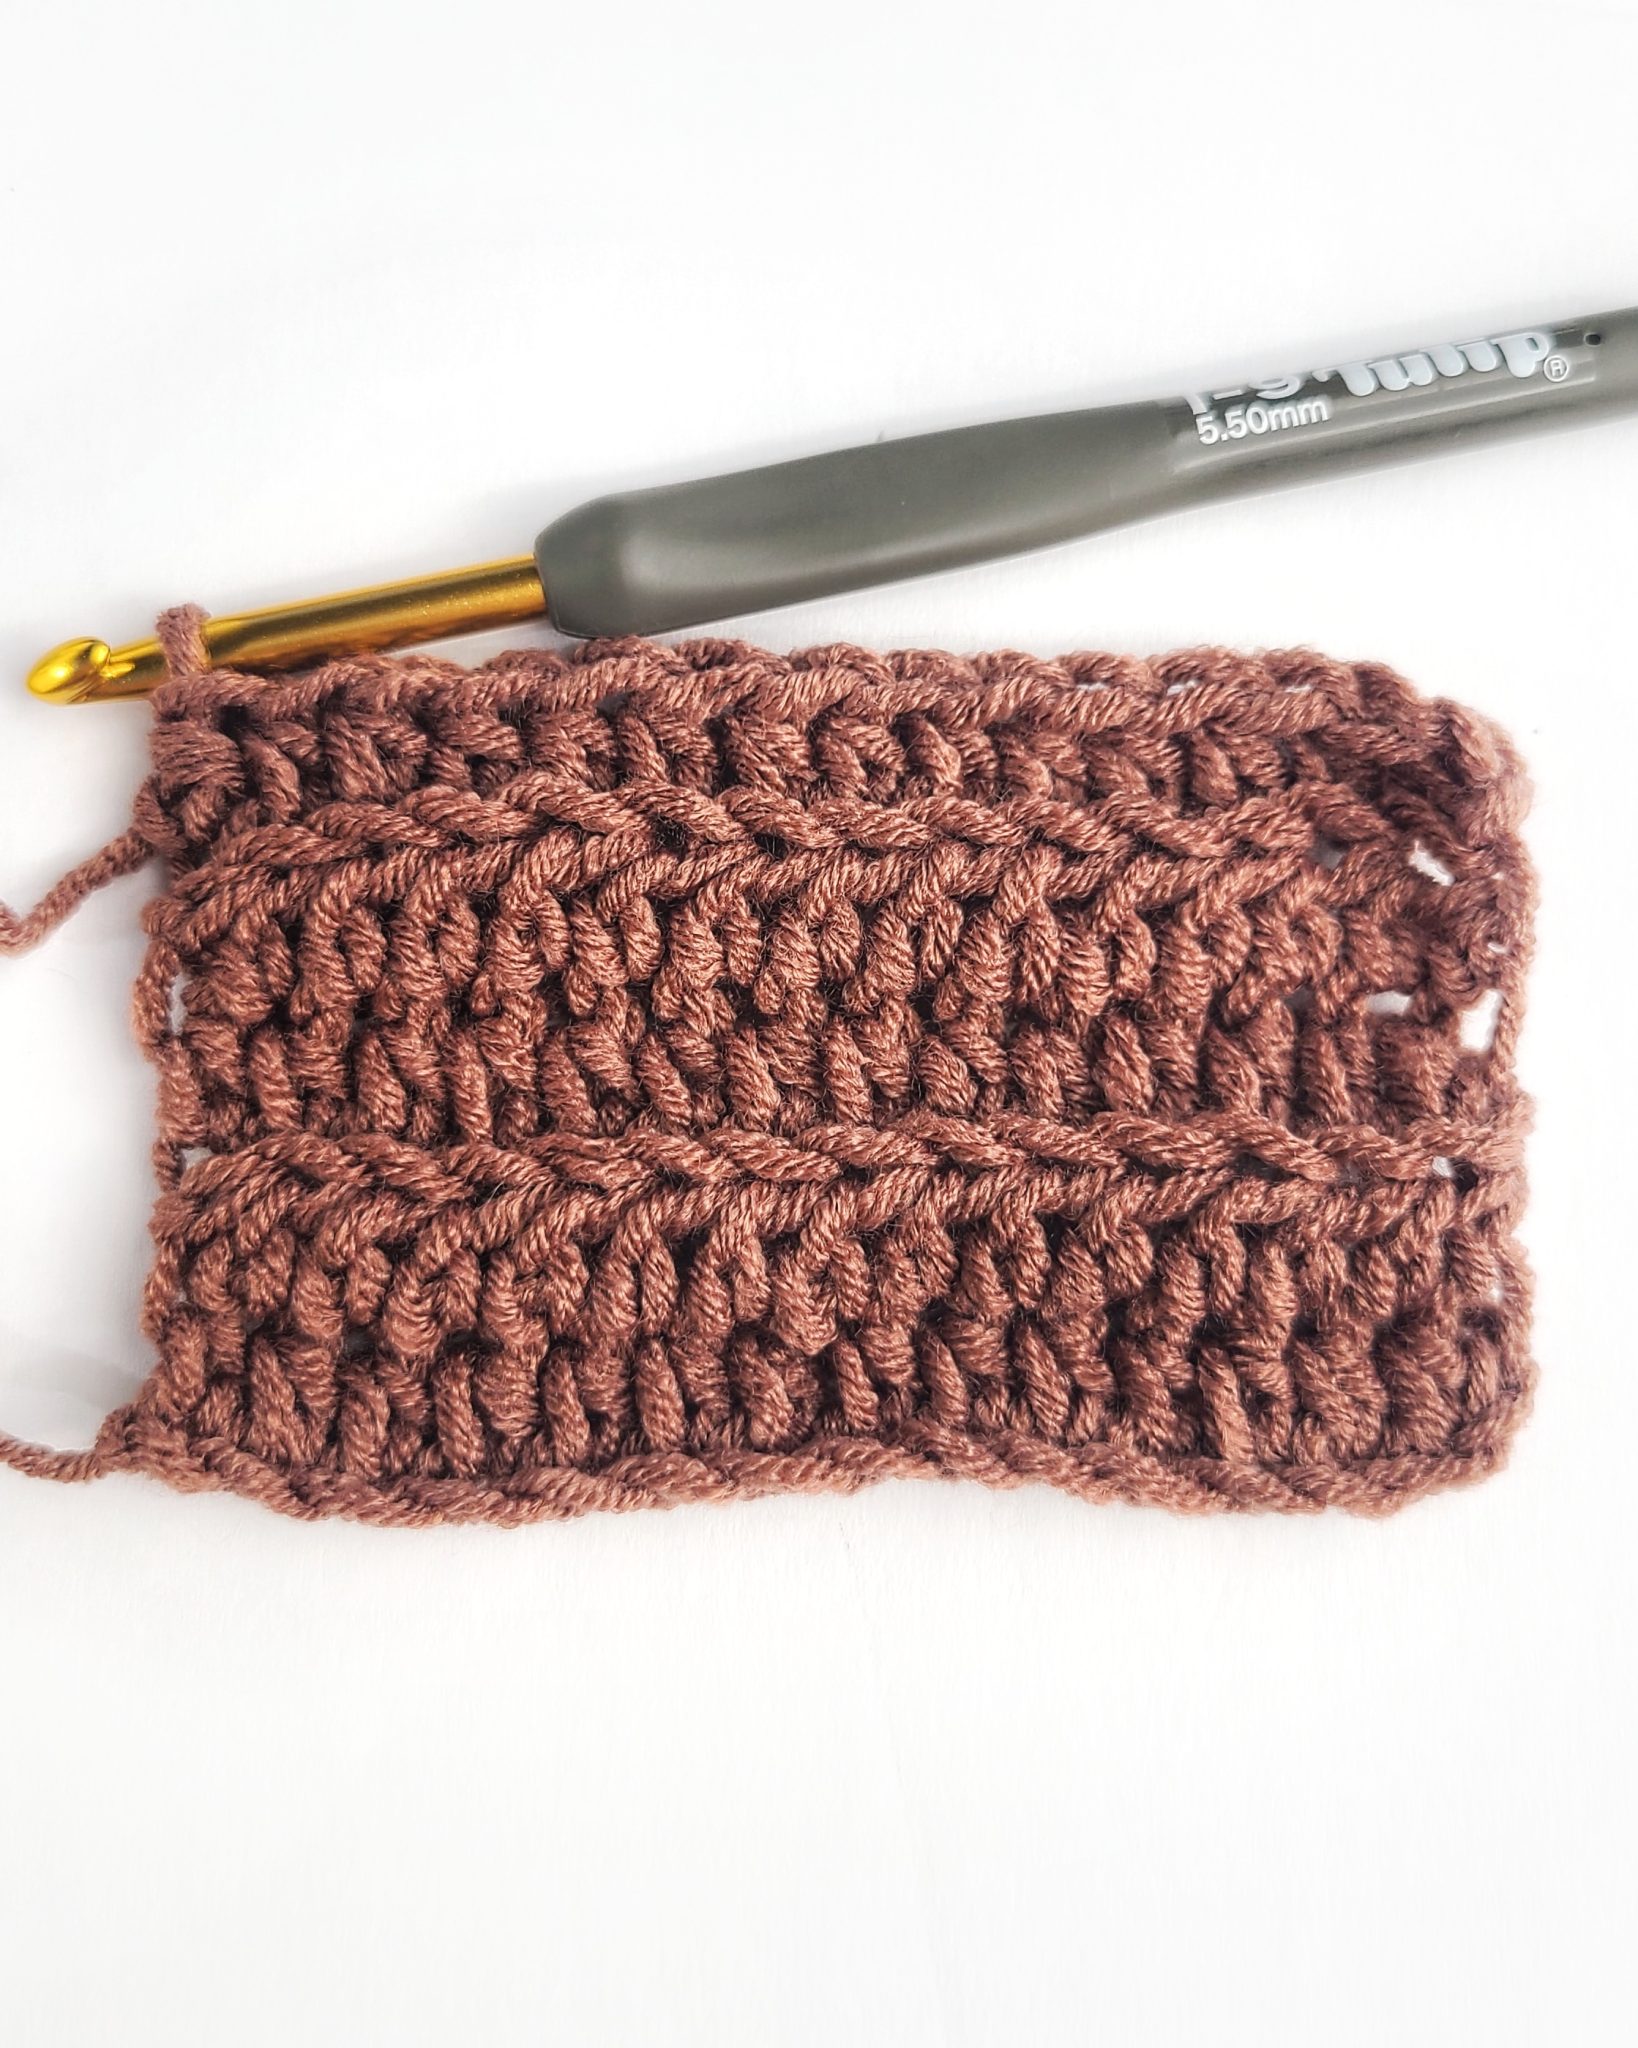
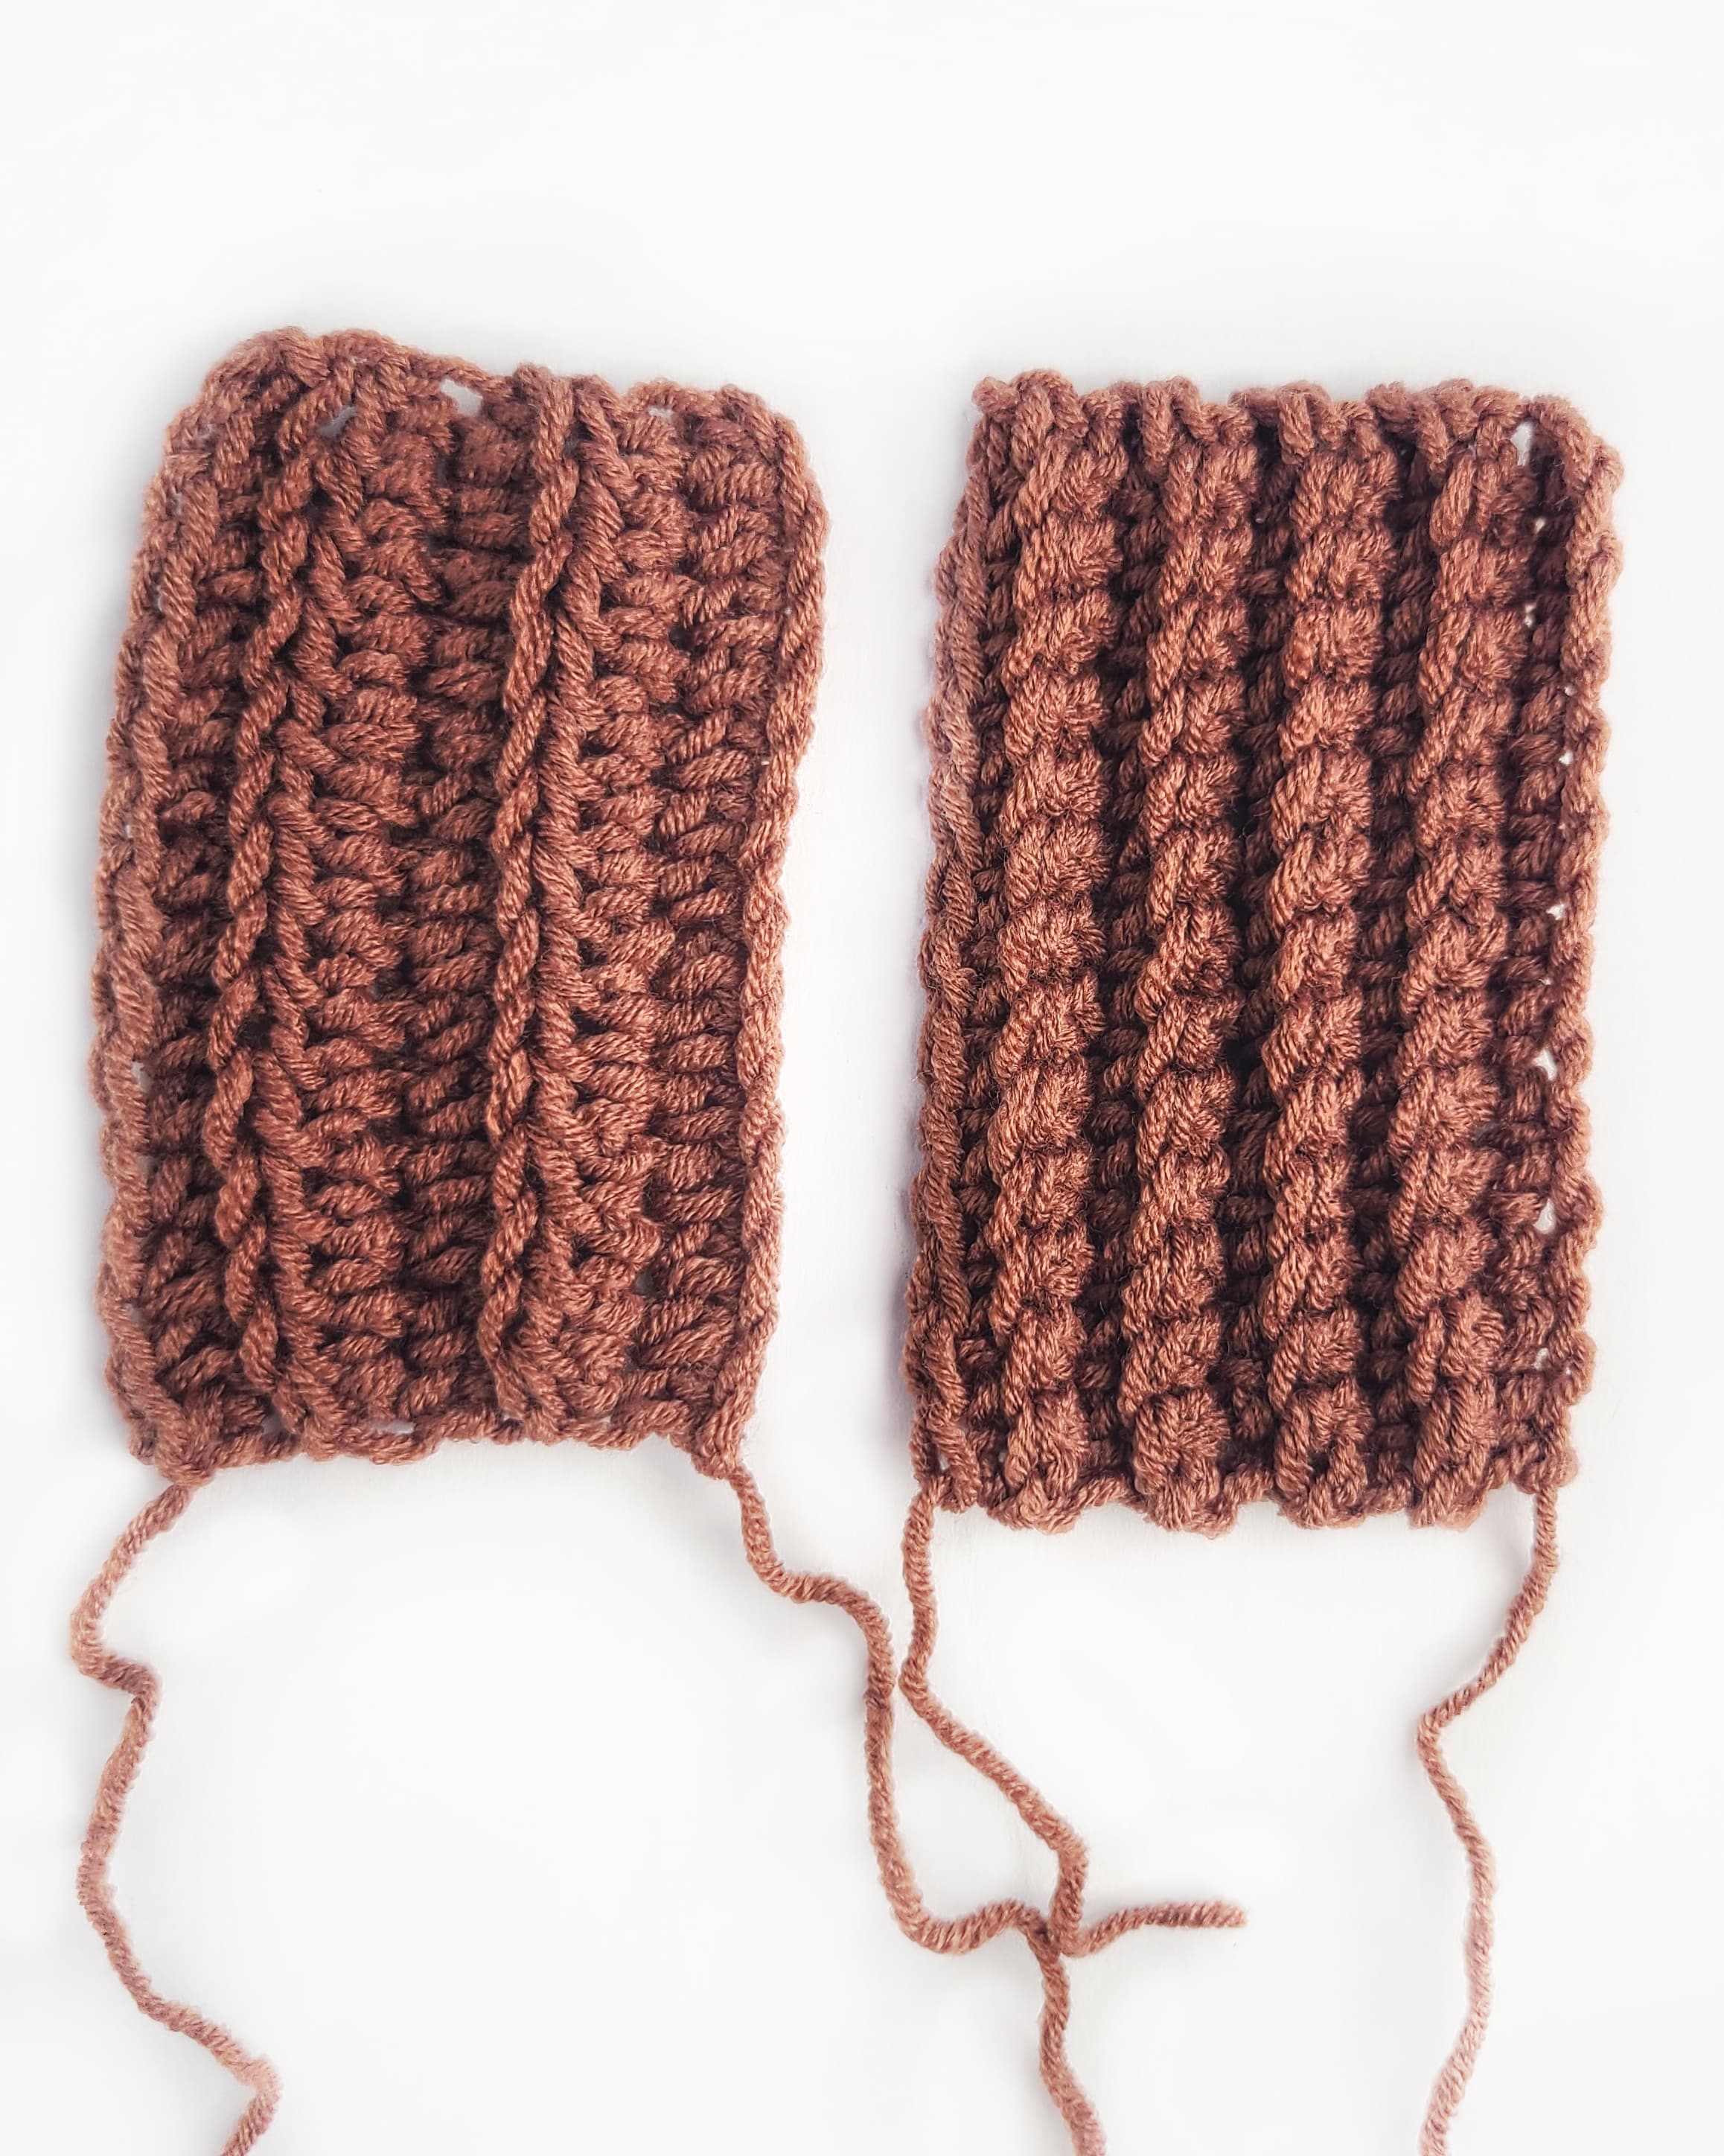
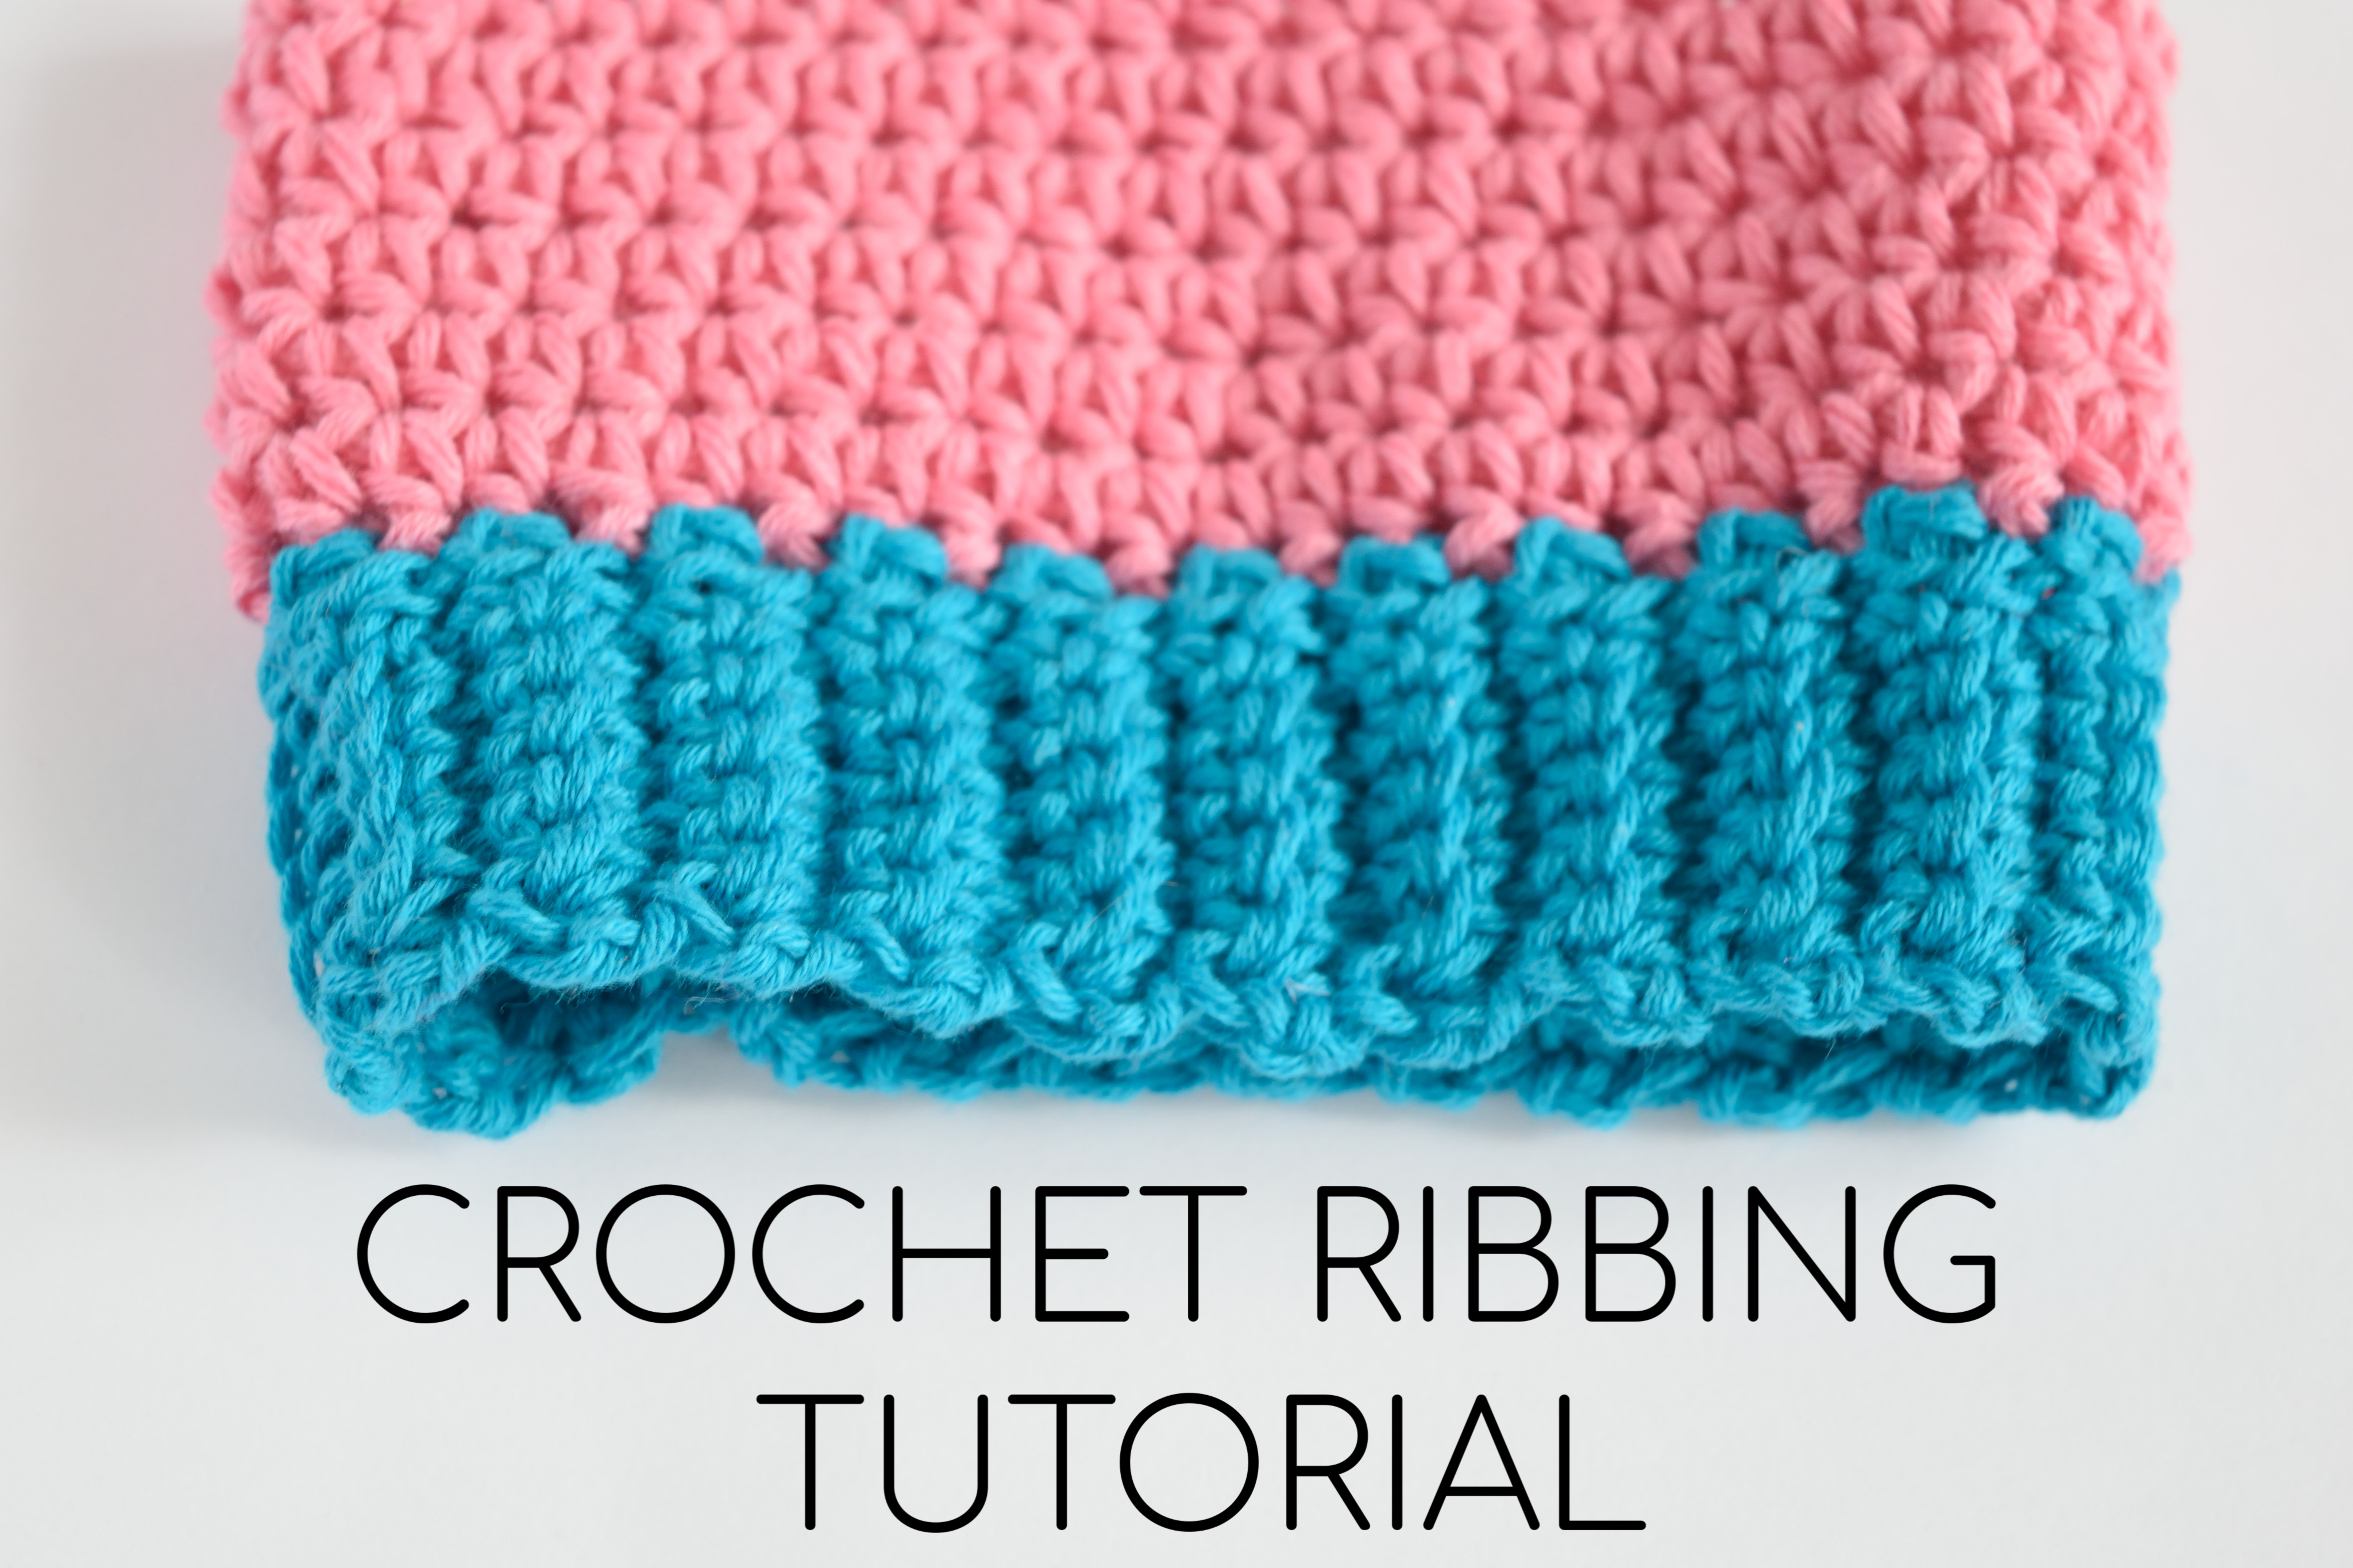
Ribbing Crochet Pattern - This is a classic one and works well with just about anything. 5 types of crochet ribbing for any occasion; Alternating regular and back post stitches in a 2×2, 1×1, or any other repetitive system, creates a ribbing stitch. (row 1) single crochet in each stitch across the row. Web how to make a knit look ribbing with crochet. Crochet ribbing consists of a combination of simple stitches, usually worked in the back loops only or using front or back post stitches to create ridges. Now simply repeat steps 2 & 3 until your piece is as long as you’d like! Now you can create that same look and function on your crochet projects. Hat brims, cuffs, blankets and more! Below, i’ll show you how to make two easy ribbing techniques for. However, before you start this tutorial make sure you know these basic techniques: 5 types of crochet ribbing for any occasion; Web first, gather your supplies. Chain any number of stitches. (or any number you prefer.) Yarn over the hook, pull the hook through the loop to create a chain. So the length of the rib depends on the number of stitches. Web a comparison of crochet rib stitch techniques. Crochet ribbing vs knitted ribbing; 1 x 1 and 2 x 2 rib stitch patterns that look like knitting. Horizontal ribbing is where the rib is created by the stitches. Crochet ribbing vs knitted ribbing; Web crochet ribbing is a very simple crochet stitch pattern. Web this crochet brim technique is absolutely perfect for beanie, but you can also use it for the ribbing on sweater hems, cuffs, and necklines. Crochet ribbing from dora does. Crochet ribbing consists of a combination of simple stitches, usually worked in the back loops only or using front or back post stitches to create ridges. (row 1) single crochet in each stitch across the row. Knit ribbing uses a combination of knit and purl stitches to create vertical ribs. I will explain every stitch you will need to make. This is important to know as it will impact where and how you might want to apply the techniques. So what are the stretchiest stitches? You can either make rib run vertically or horizontally. Web first, gather your supplies. Hat brims, cuffs, blankets and more! This is a classic one and works well with just about anything. 5 types of crochet ribbing for any occasion; Web a comparison of crochet rib stitch techniques. Web so while i have the subject on my mind, here’s a quick introduction to the five most versatile types of crochet ribbing, and how to join them to clothes. 1 x. Crochet ribbing vs knitted ribbing; Web there are two ways to approach crocheting ribbing using post stitches. 5 types of crochet ribbing for any occasion; The stretch allows us to get a good fit on our favorite crochet projects. Hat brims, cuffs, blankets and more! This is a classic one and works well with just about anything. There are many different techniques, so always check the pattern before starting. I will explain every stitch you will need to make this item, with links to free tutorials explaining the stitches. Web the pattern includes detailed instructions on how to adjust for different leg widths and lengths,. Web the pattern includes detailed instructions on how to adjust for different leg widths and lengths, making it truly your own. Crochet ribbing consists of a combination of simple stitches, usually worked in the back loops only or using front or back post stitches to create ridges. Web many crochet projects can really benefit from the use of an easy. Ribbing is the term we use for a stretchy knit fabric. For these socks, i incorporated extensive ribbed sections that not only enhance the aesthetic but also improve the fit. Learning how to crochet ribbing involves a certain technique (whichever one of the two below that you decide to. When working a rib in a crochet, you need to work. Ribbing is the term we use for a stretchy knit fabric. 10 types of crochet ribbing. See the written patterns and tutorial videos below. You can use single crochet through the back loop as written, or substitute with another rib stitch. Web in order to make a crochet ribbing stitch, you have to apply relief crochet, otherwise known as post. The initials stand for front post double crochet and back post double crochet. It’s super easy, lays flat every time, and and looks beautiful. As always, i will explain what materials you will need for this pattern. Web crochet ribbing is a very simple crochet stitch pattern. See the written patterns and tutorial videos below. However, before you start this tutorial make sure you know these basic techniques: Horizontal ribbing is where the rib is created by the stitches. Alternating regular and back post stitches in a 2×2, 1×1, or any other repetitive system, creates a ribbing stitch. Yarn over the hook, pull the hook through the loop to create a chain. Chain any number of stitches. I will explain every stitch you will need to make this item, with links to free tutorials explaining the stitches. Ribbing is the term we use for a stretchy knit fabric. It’s super easy, lays flat every time, and and looks beautiful. Ribbing first, or ribbing second? (or any number you prefer.) Now simply repeat steps 2 & 3 until your piece is as long as you’d like! Now you can create that same look and function on your crochet projects. Web if you’re on the hunt for a crochet ribbing to add to your sweater, beanie, or any other project, i have you covered! Crochet ribbing consists of a combination of simple stitches, usually worked in the back loops only or using front or back post stitches to create ridges. (row 2) ch 1, turn, slip stitch in each stitch across the row. Web how to crochet ribbing tutorial.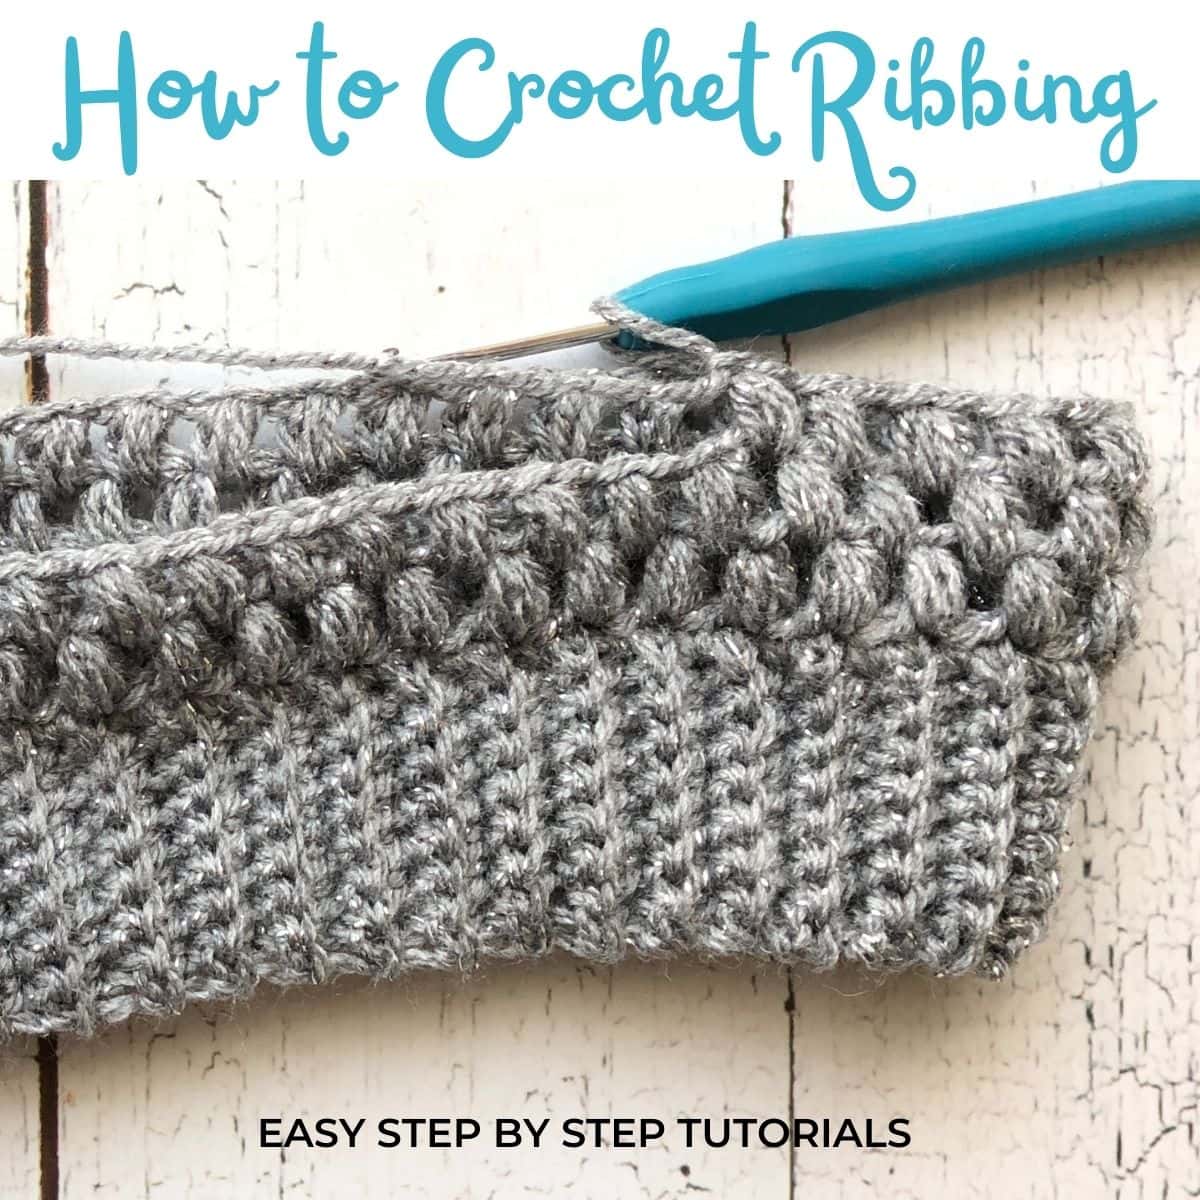
How to Crochet Ribbing 6 Easy Ways Stardust Gold Crochet
Learn How to Make Crochet Ribbing Easy Crochet Patterns
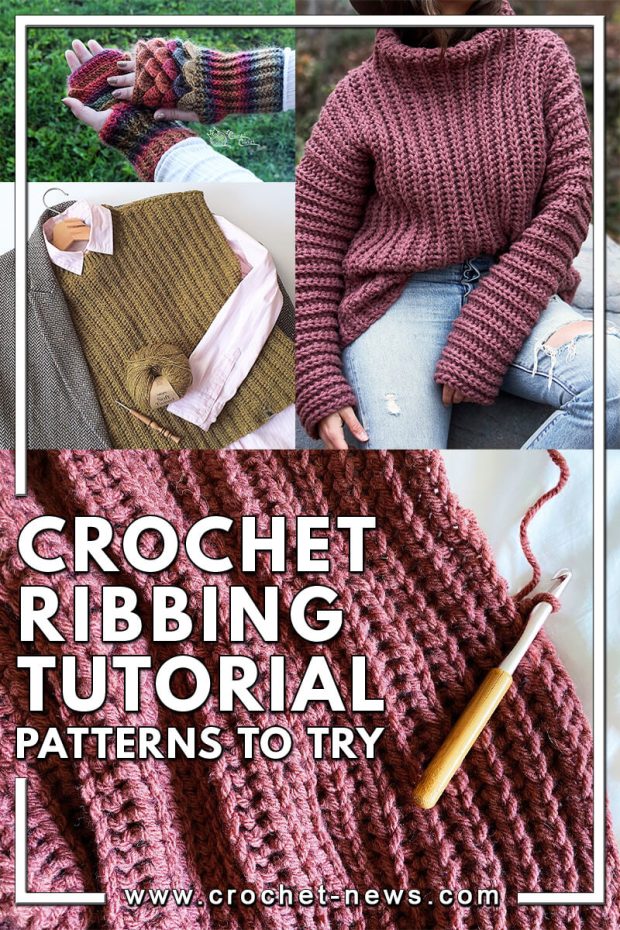
Crochet Ribbing Tutorial With 10 Patterns To Try Crochet News
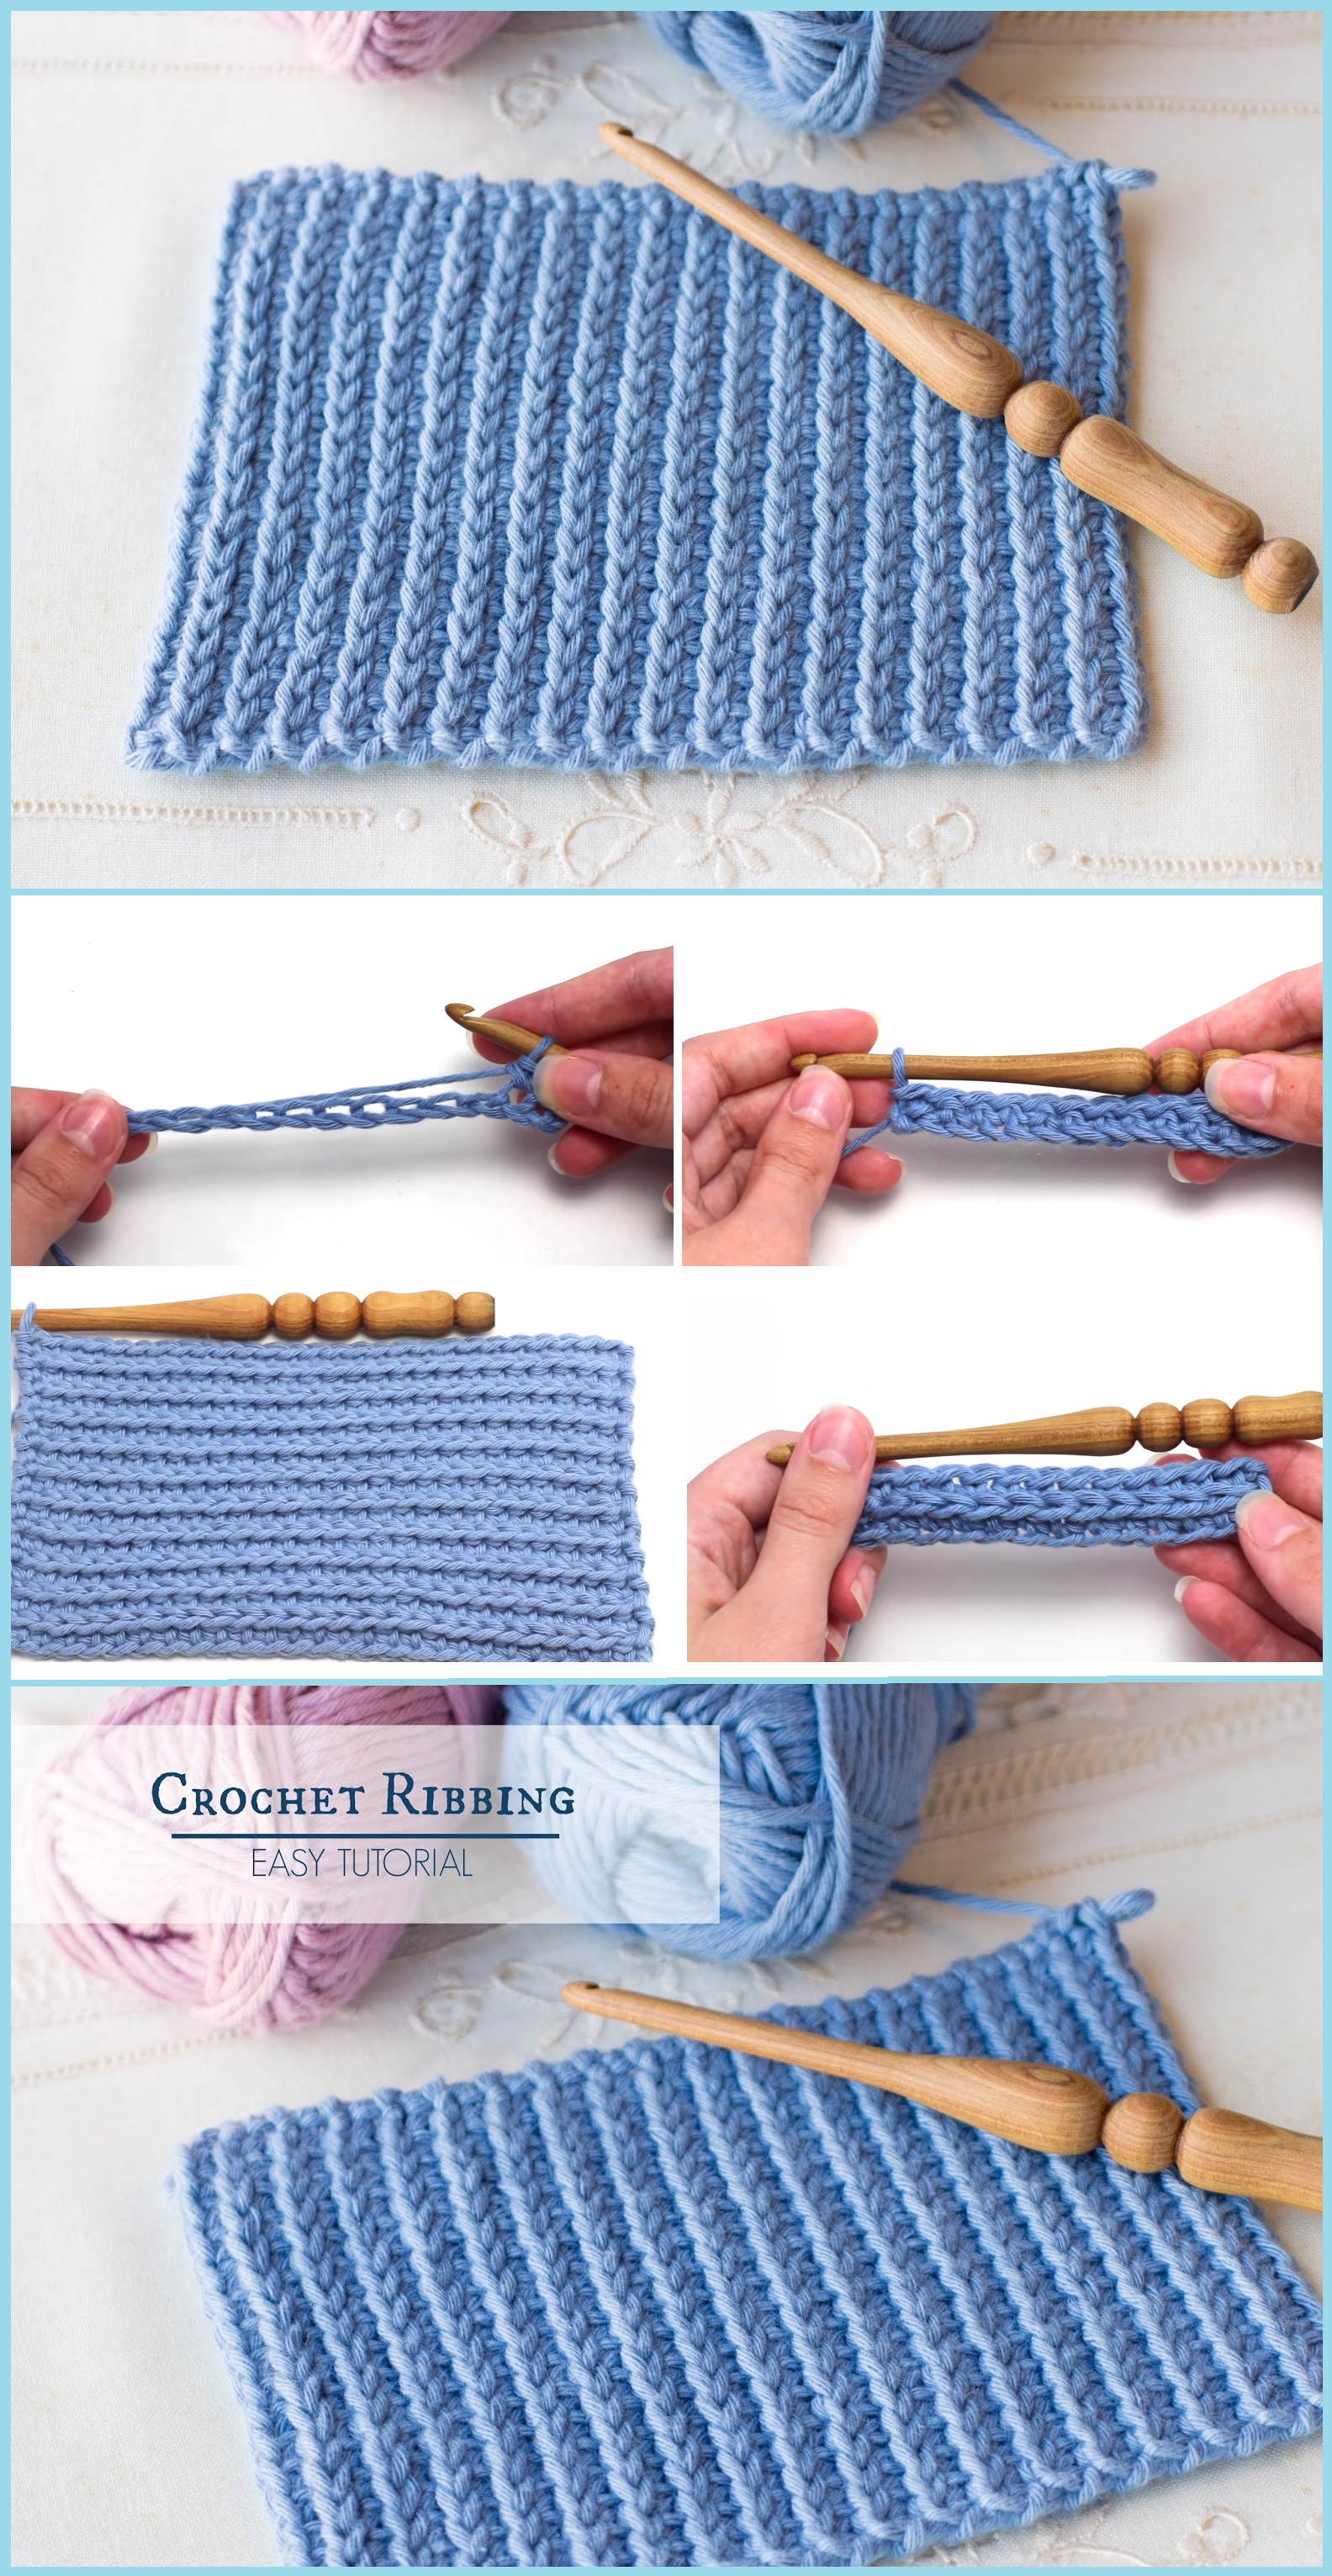
Crochet Ribbing Tutorial Tutorials & More

A directory of crochet rib stitch patterns and ribbing techniques

Single Crochet Ribbing (Easy Tutorial) love. life. yarn.
Learn How to Make Crochet Ribbing Easy Crochet Patterns

How to Make the Perfect Stretchy Crochet Ribbing for Hats!
Tutorials Archives MyCrochetory
TUTORIAL Crochet Ribbing pt. One HTC and slip stitch — Emmy + LIEN
Web First, Gather Your Supplies.
Find Me On All Social Media, Links Below!
(Row 1) Single Crochet In Each Stitch Across The Row.
This Is A Classic One And Works Well With Just About Anything.
Related Post:
